There are several benefits to organizing your code into modules:
- Readability
- Testability
- Reusability
- Maintainability
- And more …
By using an Xcode Workspace and Swift Packages, a monolithic project can be split up and organized, into smaller modules or packages. Utilities, for example, can go in one package, and the Data Layer can go in another package.
Swift Packages can be local or remote. If the module can be used by other projects or teams, then consider using a remote package. In which case, the remote package will require its own git repository. If the module is only usable by the main application, then use a local package. The local package will live within the git repository of the main application. In this article, we’re going to use a local package.
The Steps Link to heading
The following steps describe how to add a local “MyLibrary” package to an “Example” project.
Using Xcode 16
- Checkout the
starter-projecton GitHub: https://github.com/harrisonrw/swift-local-package-example
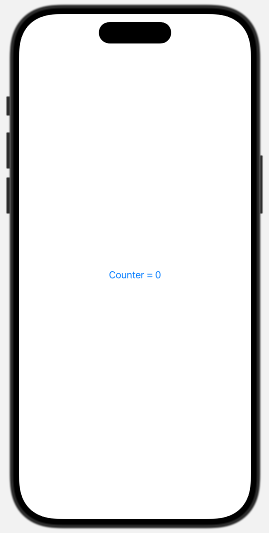
The example project is a simple SwiftUI app.
Using the Project Navigator, make note of the initial project structure.
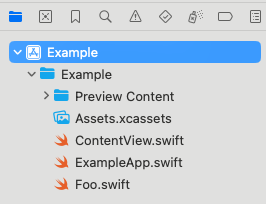
Foo.swift contains a struct that will be moved to a Swift Package.
struct Foo {
    var bar = 0
}
ContentView.swift defines the UI in a SwiftUI View. There is a state property for Foo. A button displays the current value of foo.bar. When the button is pressed, the value of foo.bar is incremented.
// ...
struct ContentView: View {
    @State var foo = Foo()
    // ...
    Button("Counter = \(foo.bar)") {
        foo.bar += 1
    }
//...
-
Create a Workspace. Name it
Example.xcworkspaceand save it in the same directory as the.xcodeprojfile. See Manage Multiple Projects with an Xcode Workspace to learn how to create an Xcode Workspace. -
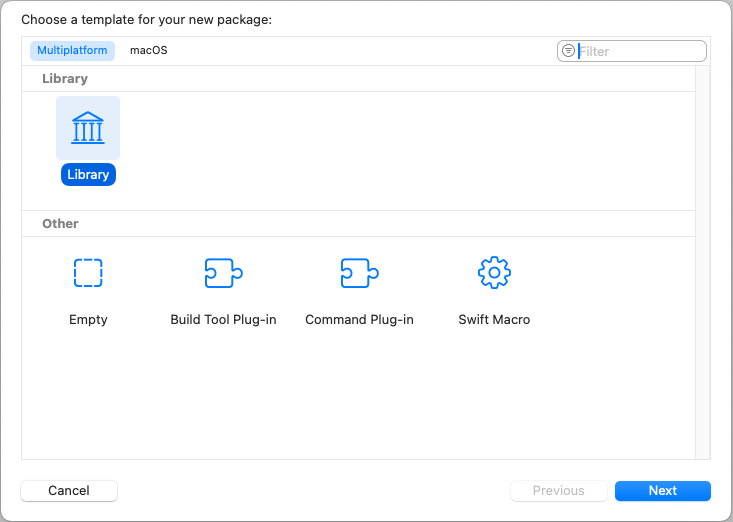
Create a Swift Package by clicking
File > New > Package. -
Choose a Template (Multiplatform > Library). Click Next.
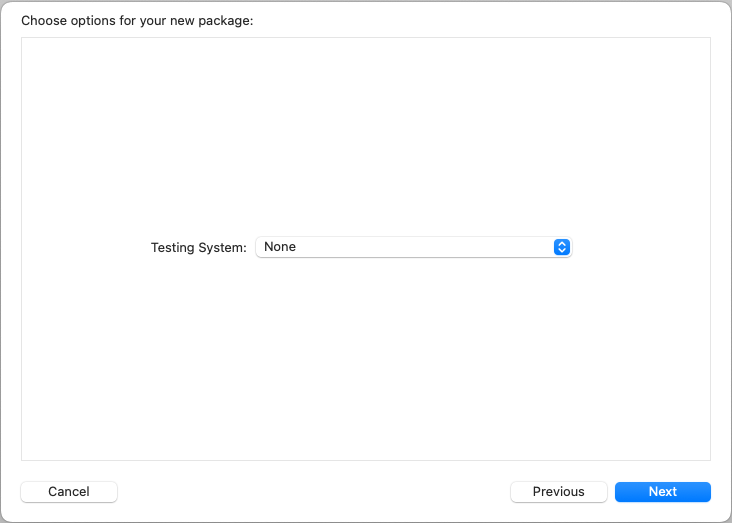
- Choose a Testing System. Click Next.
- Set Save As to “MyLibrary” in the same directory as the
.xcodeprojand.xcworkspacefiles.
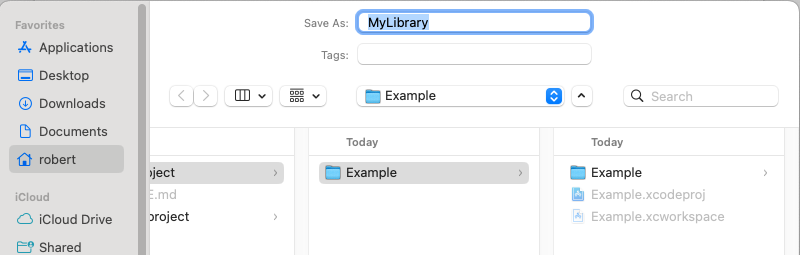
- Set Add to, to the name of the workspace: “Example”.
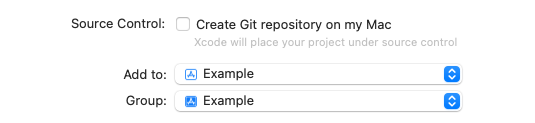
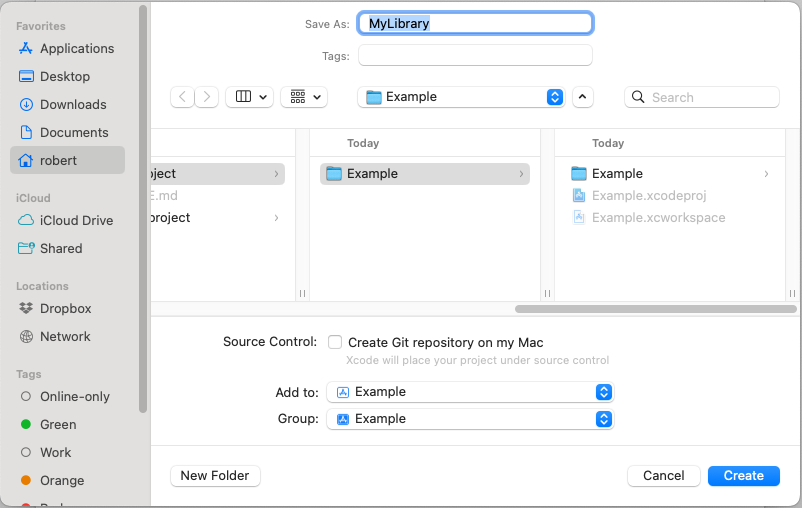
- Verify your configuration matches the screenshot below and then click Create.
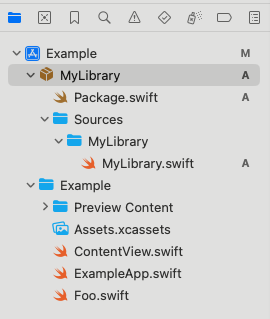
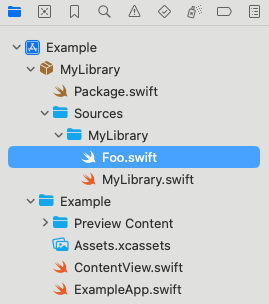
- In Project Navigator, the file structure should look something like this:
- Move
Foo.swiftto MyLibrary:
-
Try to build the Example app. It should fail with
Cannot find 'Foo' in scope. -
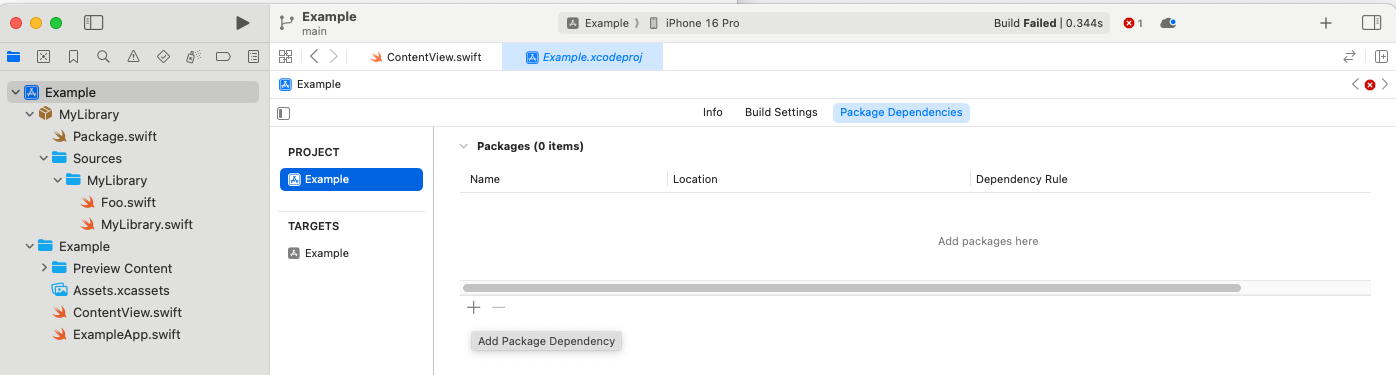
Since
Foois in a separate package, we need to add the package dependency to the “Example” project. UnderProject > Package Dependencies, click on the + button.
-
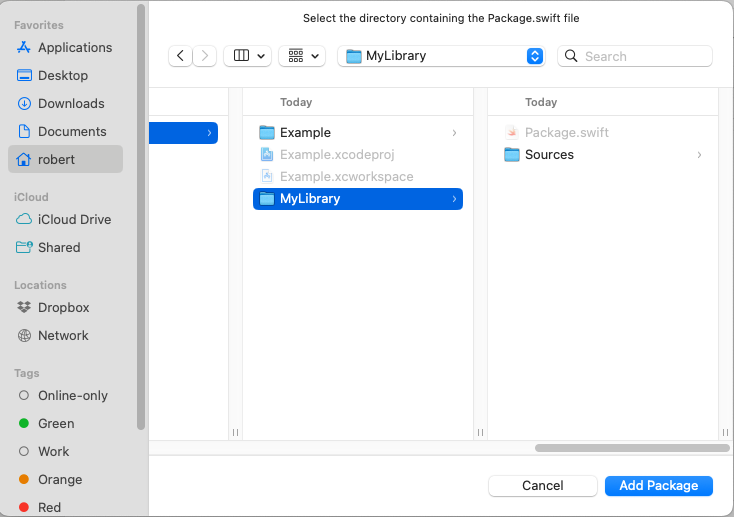
Click Add Local.
-
Select the folder that contains the package: “MyLibrary”. Click Add Package.
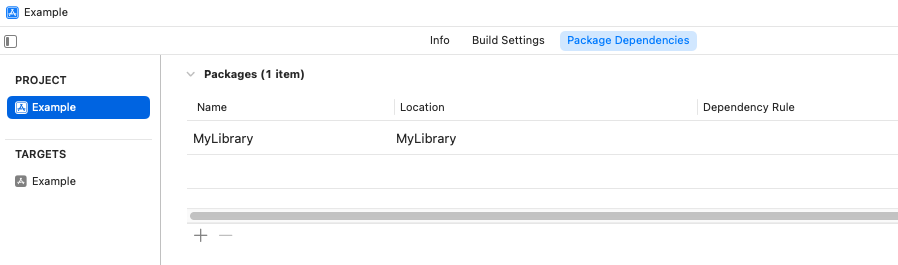
- Click Add Package again.

- MyLibrary should added to the Example project:
- Add this line to
ContentView.swiftto import MyLibrary:
import MyLibrary
-
Try to build the Example app again. It should still fail with
Cannot find 'Foo' in scope. We need to makeFooaccessible to callers outside of the package. -
In
Foo.swift, mark the struct and property aspublic. Also create a public initializer because the default init hasinternalprotection level.
public struct Foo {
    public var bar = 0
    public init() { }
}
- Build the Example app again. This time it should succeed.
For reference, you can checkout the final project on GitHub: https://github.com/harrisonrw/swift-local-package-example
Conclusion Link to heading
Now you can apply these same steps to organize and improve the modularity of your own projects. Thank you for reading.